Tutorial #8 - Importing Data from Excel
Many STATGRAPHICS Centurion users use Microsoft Excel for basic data entry
and manipulation. There are three ways of moving data from Excel to STATGRAPHICS:
- By copying data while in Excel to the Windows clipboard and then pasting
it into STATGRAPHICS.
- By opening an Excel workbook directly while in STATGRAPHICS.
- By connecting to an Excel workbook using ODBC and issuing a database
query.
This tutorial describes each method.
Method 1 - Using the Windows Clipboard
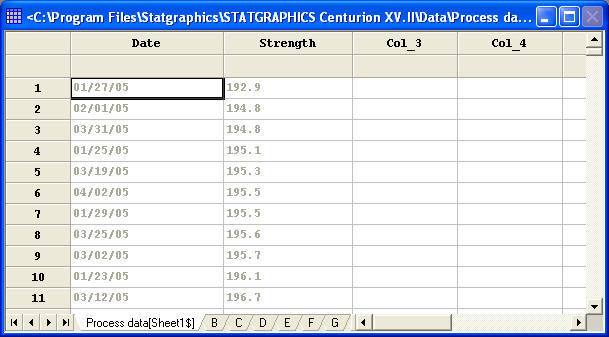
- Load Excel and open the sample data file Process data.xls, which
is located with the STATGRAPHICS sample data files in the directory
Program Files\Statgraphics\Statgraphics Centurion XV\Data. The Excel
file contains two columns of data, as shown below:
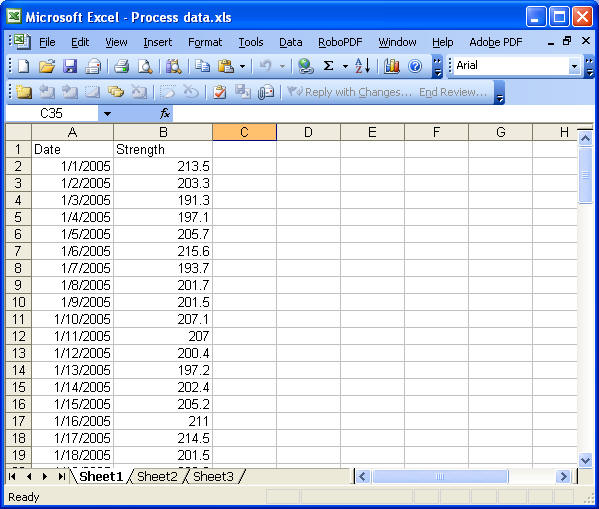
Notice that row 1 has been used to assign a name for each variable in the
sheet. If desired, row 2 can also be used to hold variable comments.
- Click on the upper left corner of the worksheet to highlight the entire
sheet:

- Select Edit - Copy from the Excel menu to place the data on the
Windows clipboard.
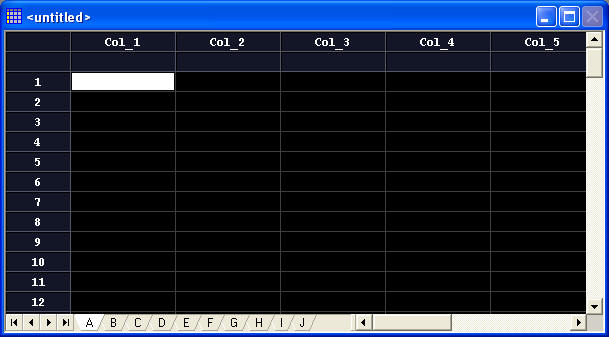
- Within STATGRAPHICS, go to the DataBook window.
- Find an empty datasheet and click on the upper left corner to highlight
the entire sheet:
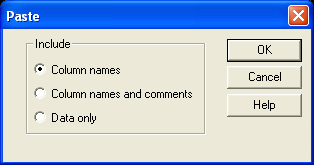
- Select Edit - Paste from the STATGRAPHICS menu.
- When the dialog box below appears, select Column names to
indicate that the Excel datasheet has a header containing names for each
column:
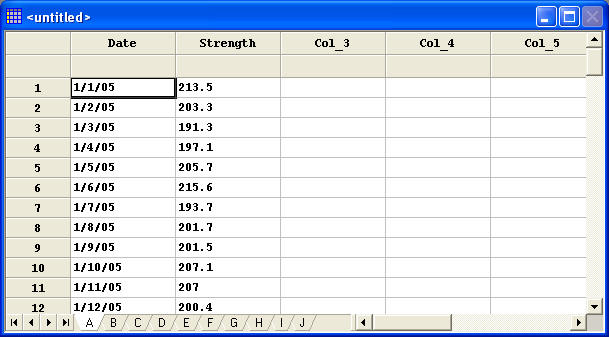
- Press OK to paste the data into the STATGRAPHICS datasheet, where it will
be ready to be analyzed:
Method 2 - Opening an Excel Workbook
You may open an Excel workbook directly into STATGRAPHICS, provided it is in
the Excel 97-2003 workbook format.
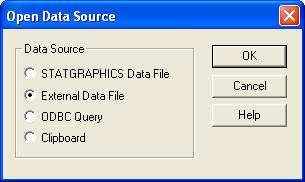
- Load STATGRAPHICS and select File - Open - Open Data Source from
the main menu.
- On the dialog box below, select External Data File:
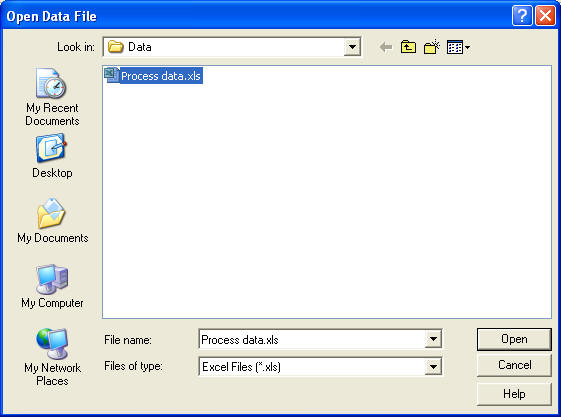
- Select the file Process data.xls, which is located with the
STATGRAPHICS sample data files in the directory Program Files\Statgraphics\Statgraphics
Centurion XV\Data:
- Complete the next dialog box as shown below:

The settings indicate that you wish to read the first datasheet in the
Excel workbook, and that it has a single column header row containing
variable names. If you were using a special code for cells containing
missing data, other than simply an empty cell, you could enter that code in
the Missing value field and those cells would be automatically
blanked out when the file was read.
- Press OK to read the file into the STATGRAPHICS DataBook:
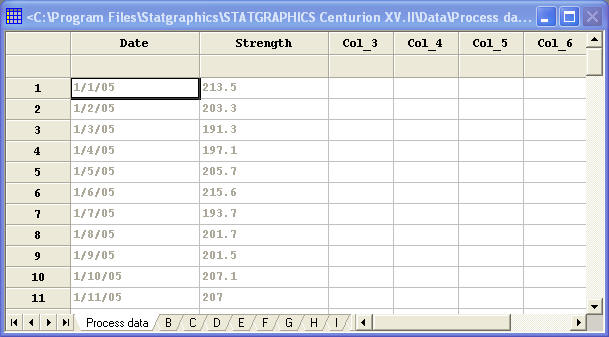
Notice that the columns are grayed out, indicating that the datasheet has
been placed into read-only mode.
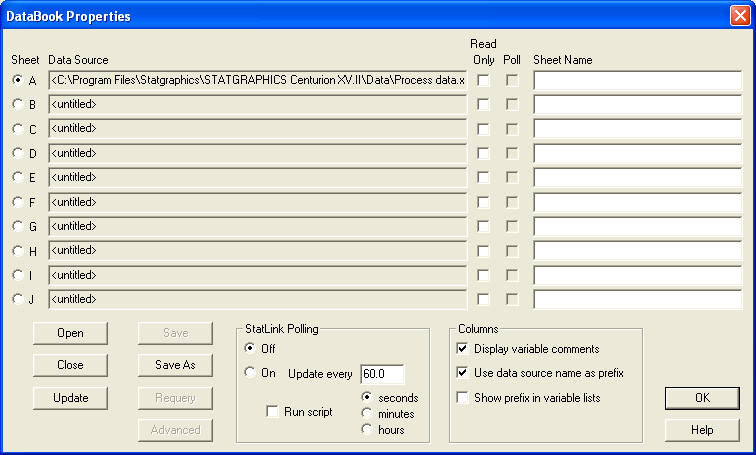
- If you wish to turn off the read-only flag, select Edit - DataBook
Properties from the main STATGRAPHICS menu and remove the Read Only
checkmark from Sheet A:
Method 3 - Accessing Excel via ODBC
You can also access an Excel workbook via ODBC. This allows you to:
- Read only selected columns.
- Filter the rows according to one or more selection criteria.
- Sort the rows before they are placed in the STATGRAPHICS datasheet.
- Read columns from more than sheet within a single Excel workbook.
(NOTE: The dialog boxes in steps 3-8 below will vary somewhat
depending upon which version of Windows you are using.)
- To create an ODBC connection to an Excel workbook, select File - Open
- Open Data Source from the main STATGRAPHICS menu.
- When the dialog box below appears, select ODBC Query:

- The next dialog box allows you to select an existing connection or
create a new one:

Leave the DNS Name field blank and press New.
- On the next dialog box, select the Microsoft Excel Driver:
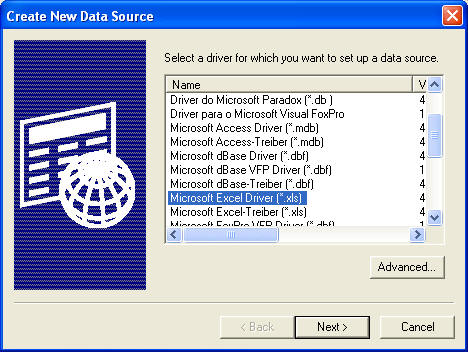
Press Next.
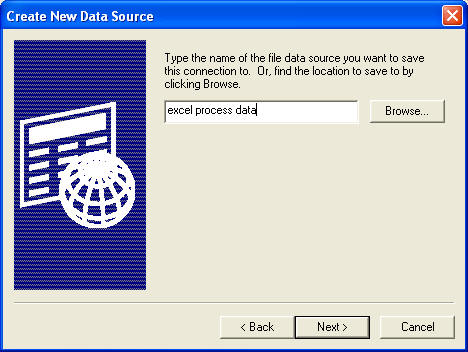
- On the next dialog box, select a name for the connection you will
create and press Next:
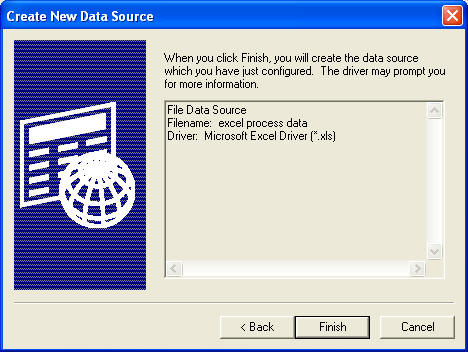
- When the summary dialog box appears, press Finish:
- Use the Select Workbook button on the next dialog box to select
the Excel workbook that you wish to read:
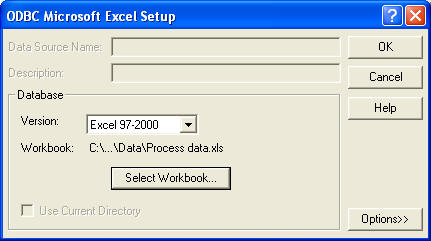
- After selecting the workbook, press OK and the list of available
DSN will be modified to include the new connection:

The sequence of dialog boxes you just completed to create the DSN can
also have been accessed through the Windows Control Panel if you prefer.
- Now highlight "excel process data.dsn" and press OK. This will
display the dialog box shown below:
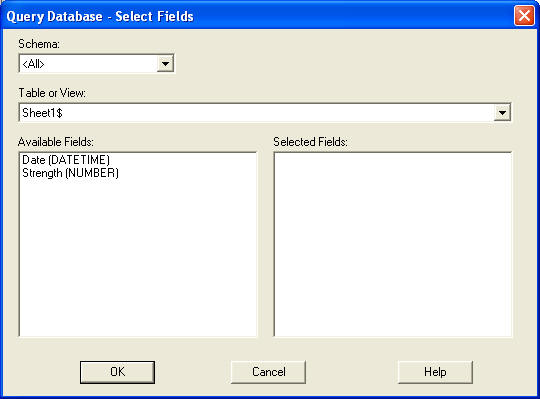
- Use the dropdown Table or View list to select a worksheet from
the Excel workbook.
- Double-click on both Date and Strength to move them to the
Selected Fields:
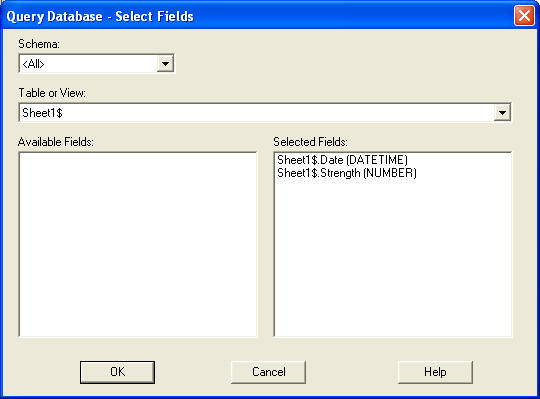
Then press OK.
- On the next dialog box, enter the following information to indicate that
you only wish to read rows after January 10, 2005:
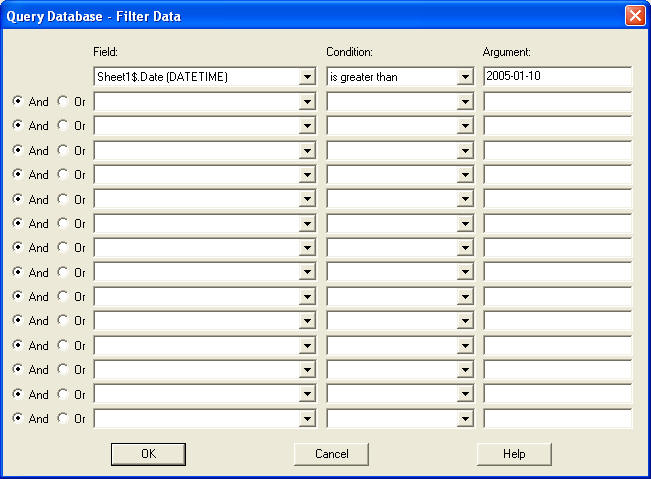
Notice carefully the form of the Argument. Dates must be entered
in the indicated format, regardless of how they appear in the Excel
worksheet, including the leading zero in "01" for the month of January.
Press OK.
- On the next dialog box, you may select up to 3 columns by which to sort
the rows:
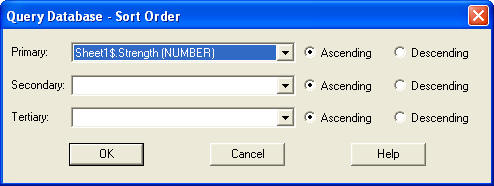
- When you press OK, the data will be loaded into the current
STATGRAPHICS datasheet:
The datasheet has been placed in read-only mode, which you can override
by selecting Edit - DataBook Properties from the main STATGRAPHICS
menu.
Return